
Books can be a great tool for spreading awareness, learn new concepts, and even tell a story for entertainment. If you’re a book writer, you must have heard about making books online and distributing them to audiences in digital copies. But the question is how to make a book online? Well, fortunately, you can take advantage of online book builders that allow you to create professional ebooks that can be downloaded in PDF and used for various purposes. From kids’ story books to marketing eBooks, everything can be created online in a few simple steps. You just need to spark creativity and put your ideas together to come up with something engaging and worth reading.
Before you get started with creating your book, you need to decide on the tool you will use to make the book online. Don’t know what’s the best tool out there? Well, go with BookBildr – one of the most sophisticated tools available online for creating the most expressive books. If you haven’t used this tool before, let’s find out how to make a book with BookBildr in three simple steps.
1. Get Your Stuff Together
You should do all the groundwork before you go to bookbildr.com and start creating your book. Decide the purpose of your book, brainstorm different ideas, and download or create all the images you plan to use for demonstrating various concepts in your book. If you want to make a storybook for children, you should first create different characters in the story and decide what they will be doing in the story. You can then use both text and pictures to tell the story and help kids learn a new lesson with your creative art.
Once you are done with all the prep work, you can move on to the next step and start creating your book using the BookBildr tool.
2. Create a New Book and Add Content
For creating your book using BookBildr, go to the website and log in to your BookBildr account. Next, follow the steps below:
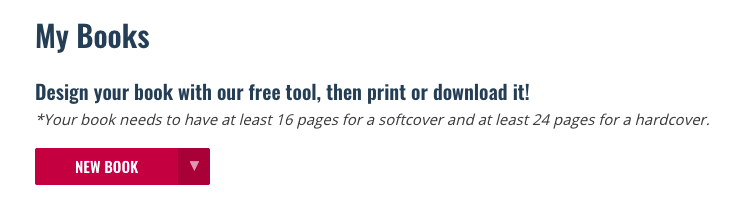
- Click the My Books menu
- Click the New Book button from the My Books page
- In the Book Editor, click the “Size and Shape” drop-down and select your desired format for the book
- On your new book, click “Untitled” in the title pane to name your project for your reference
- Now, click “+” and add pages to your book. You can then use the given arrows to move between pages.
Note: You can create books with at least 16 pages, 24 pages are recommended. This includes the book’s front and back covers too.
Once you have the basic layout of your book ready, you can add text, photos and illustrations to the book. Follow the steps below to do that:
Adding Text to Your Book Pages
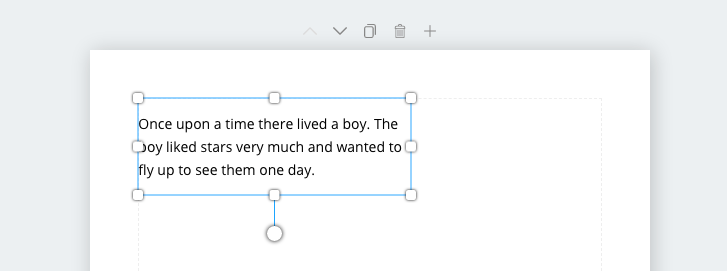
- Using the Text icon in the left-hand pane, click “Add a text box”. The text box will appear on the page with a thin border to help you with proper formatting. It won’t be printed or published in the final version.
- Click in the text box and type the text you want to add to the page
Formatting the Text You Have Added
The toolbar on the top of the text box allows you to format your text the way you like. All standard tools are available including font type, weight, size, color, decoration, text background color, and more.
- You can change font and font size from the respective drop-down menus in the toolbar
- Use the pencil and ruler icon to adjust the letter spacing and line height of your text
- Drag corners and sides of the text box to adjust its size as preferred
Adding Illustrations and/or Photos to Book Pages
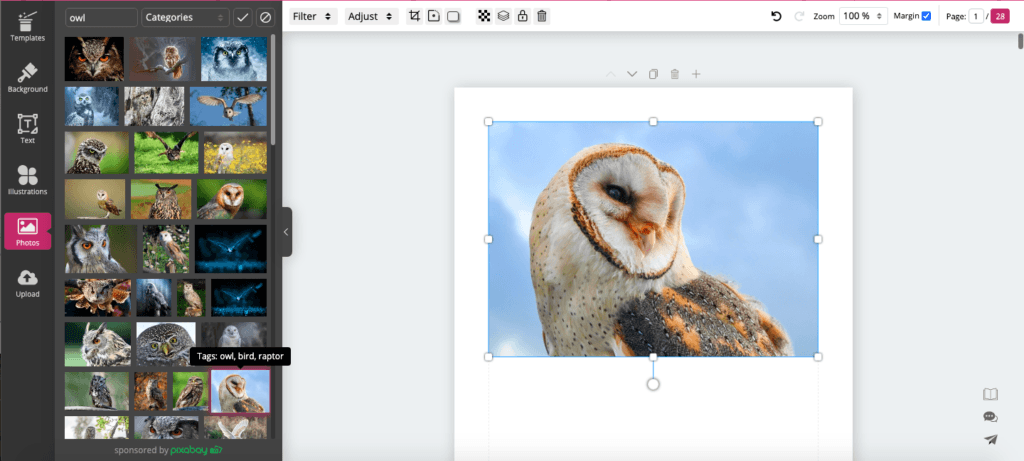
BookBildr gives you plenty of photos and illustrations in the library. Follow the steps below to add them to your book.
- Click the illustrations icon or photos icon from the left sidebar to add what you like
- Find the appropriate illustrations or photos using the search bar
- Click the desired illustration or photo, and it will be added to your book page
You can also upload your images using the Upload icon from the left sidebar and add them to a book page once uploaded. Drag or resize the image to adjust it the way you like in your book.
3. Preview Your Book and Publish
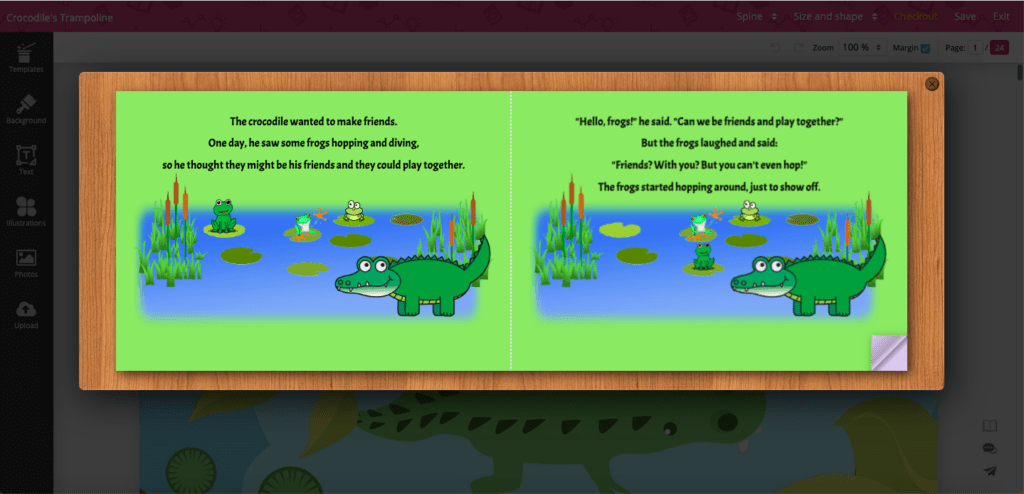
Once you are done adding content to your book, you can preview it by clicking the Preview icon on the right. You can now view the book in the Preview litebox and see how different pages of the book appear. Check the layout and make any changes if needed. That’s it! You can now order printed or PDF copies of the book. Alternately, you can also share it with your friends via email.
Creating your books with BookBildr is pretty simple and straightforward. Get started now with your first project and see how it turns out!