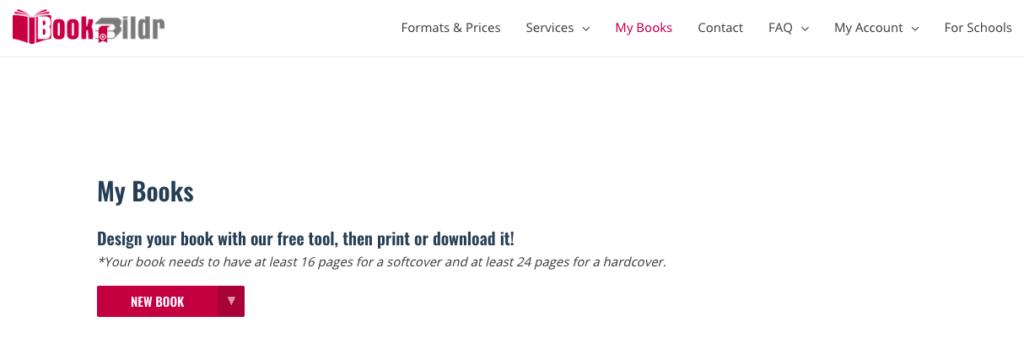
To create your first BookBildr book project, log in to your account and click on My Books in the main menu.
On the My Books page, click on the New Book button.
Note: for best results and to take advantage of all binding options, make sure your book has at least 24 inner pages (26 pages including the front and back cover) and the total inner page number can be divided by 4.
The BookBildr Editor will open:

Click on the Size and Shape drop-down menu to select the desired book format. The Small Portrait format is selected by default:

Click on the word “Untitled” to name your book project. This title is for your reference only.

The first page of the book design is the front cover and the last page is the back cover.

Click on “+” to add a new page. The second page in the book project is the first interior page in your book and it will be printed on the right. The inside of the cover will be white.

When you add content to your pages, we recommend keeping important elements like text and illustrations within the margins to prevent any important content from getting cut off during printing. Feel free to stretch background images to occupy the entire page.
Note: the margin lines designate the safe zone, they ARE NOT cut marks.
Use the arrows to move pages around:

Alternatively, zoom out to less than 33% and drag page thumbnails around:

You can also duplicate pages and delete them if needed:


Zoom out to 50% to see how your book looks in spread mode view. The cover will be visible as a spread on the top followed by the interior.

The blank page on the left is the inside of the front cover and is not editable.

Use the sidebar on the left to add text, illustrations, and photos to your book. Read this article to learn more about adding images and this article to learn how to work with text.


